Angular + NGINX + Docker

We can deploy our Angular applications in many ways, one of them is building the Angular app in an NGINX Docker container and then deploy it anywhere (on an infrastructure that supports Docker at least).
In this article, we’ll cover how to build a Docker image that runs our Angular application in NGINX. I assume you already have an existing Angular application. If not you can create one with the following command:
ng new my-angular-app
We start by creating a new folder for our NGINX configuration.
Create a folder structure build/nginx in the root of your Angular project (or name it however you want 😄) with a file called default.conf in it (this name you can’t choose).
The folder structure should look like this:
my-angular-app
├── build
│   └── nginx
│       └── default.conf
Copy the following content inside of the default.conf file:
# Don't send the nginx version number in error pages and server header
server_tokens off;

gzip on;
gzip_comp_level 5;
gzip_min_length 256;
gzip_proxied any;
gzip_types text/plain text/css text/xml text/javascript application/x-javascript application/javascript application/json application/xml;

location ~* / {
  try_files $uri $uri/ /index.html;
}

location ~* \.(?:css|js|jpg|jpeg|gif|png|ico|eot|svg|ttf|woff|woff2)$ {
  add_header Cache-Control "max-age=31536000, public";
}
This configuration file contains some optimizations for our Angular application. It will do the following:
- Redirect all paths to index.html, from this point on Angular will handle the routing - if we don’t do this, we will get a 404 error when we try to access a route that is not the root route
- Gzip optimization
- Cache optimization
Now we create the Dockerfile in the root of the project and paste the following content into it:
# This is the intermediate image that we will use to build the bundle of the Angular application
FROM node:20 AS intermediate

WORKDIR /root

# Copy the package.json and package-lock.json files to the image and install the dependencies
COPY package.json package-lock.json ./
RUN npm i -g @angular/cli
RUN npm ci

# Copy the rest of the project into the image
COPY . .

# This is the place where you would linting and formatting and run the unit and e2e tests
# RUN ng test
# RUN ng lint

# Create the bundle of the Angular application
RUN ng build --configuration=production

# Using NGXINX as the final image
FROM nginx:1.23

# Copy the configuration files into the image
# Change this path if you have a different config folder structure
COPY build/nginx/*.conf ${NGINX_DEFAULT_CONF_PATH}

# Only copy the bundle/dist folder from the intermediate image to the final image
# TODO Change the path to your own dist folder
COPY --from=intermediate /root/dist/my-angular-app /usr/share/nginx/html

EXPOSE 80
Make sure you update the file paths to your own project structure.
Now we can build the Docker image and run it:
docker build . -t my-angular-app
docker run -p 8080:80 my-angular-app
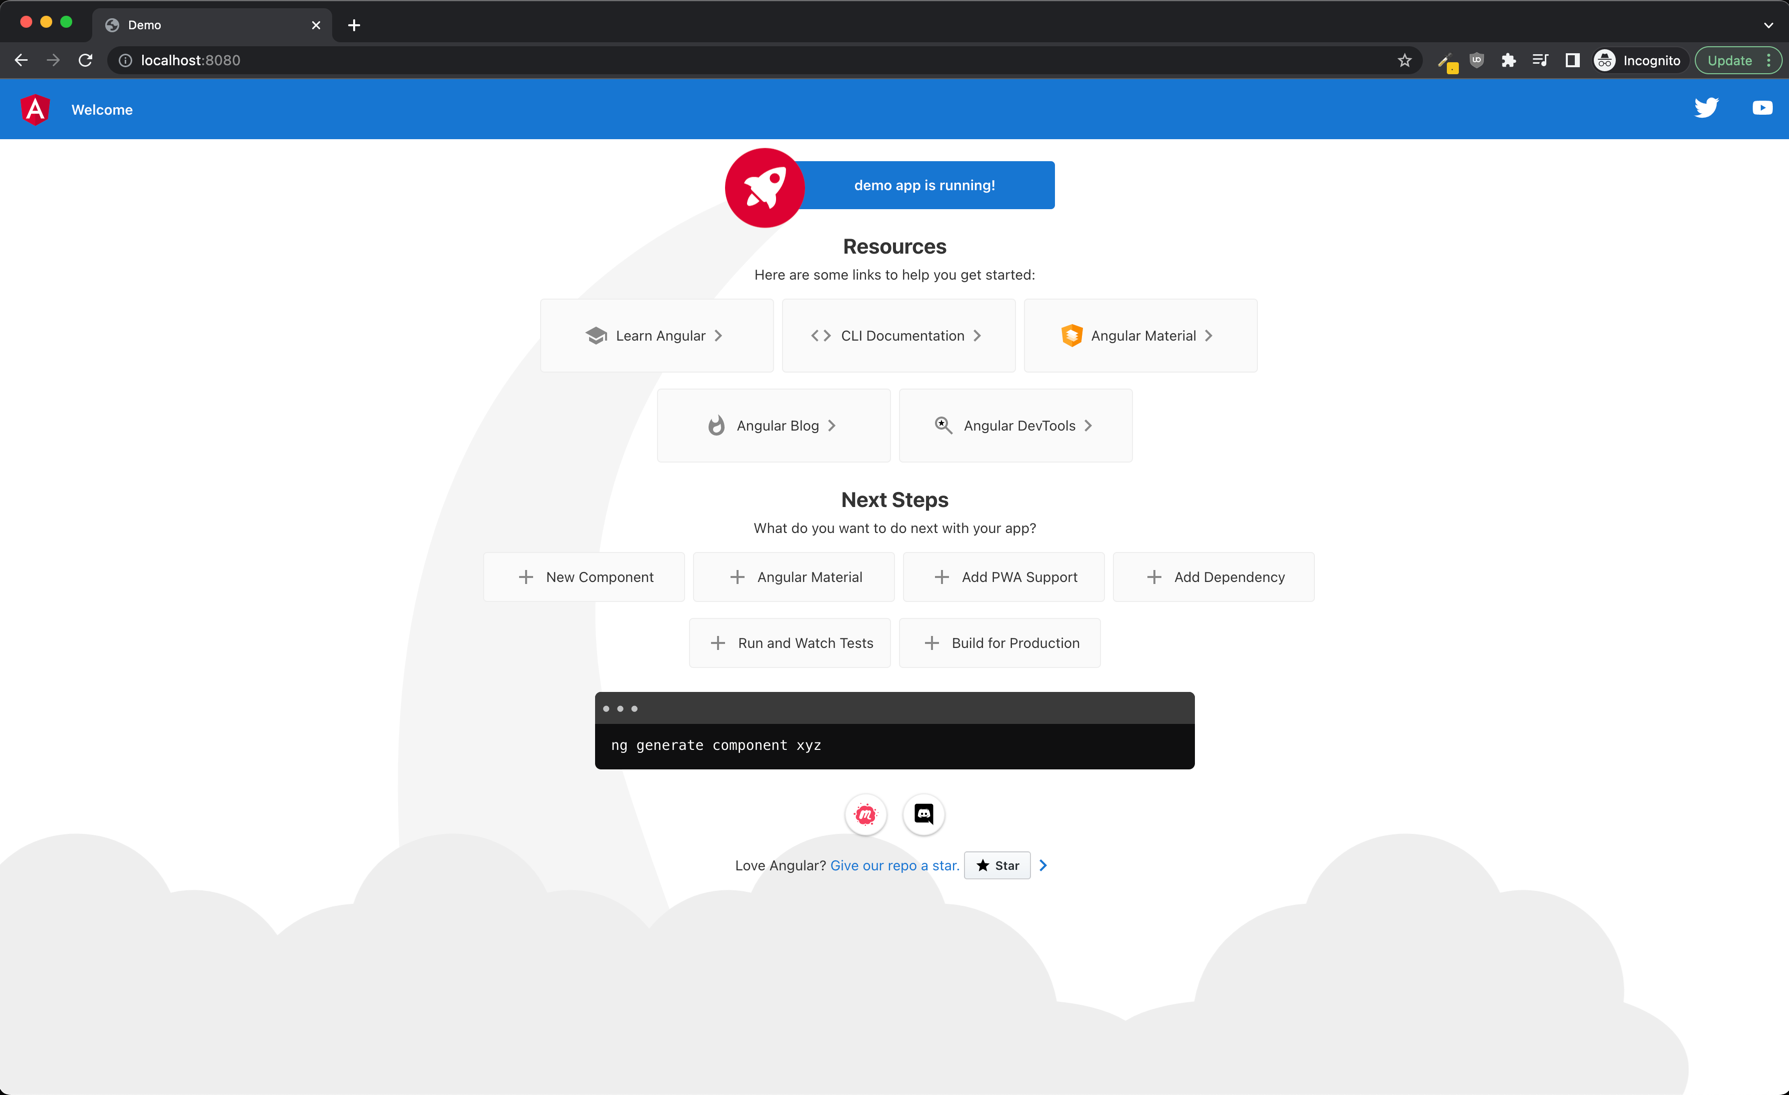
Now you should be able to access your Angular application on http://localhost:8080

Congratulations! You have successfully run your Angular application in an NGINX Docker container. 🎉
Other articles you might like
-

Generating icon components from SVG files with NX and Angular
-

How to Call the OpenAI API Directly from Angular (with streaming)
-

Custom TitleStrategy in Angular
-

RxJS catchError: error handling
-

RxJS distinctUntilChanged: filtering out duplicate emissions
-

RxJS combineLatest: how it works and how you can use it in Angular
-

Delaying streams with RxJS debounceTime
-

Real-life use cases for RxJS SwitchMap in Angular
-

Transforming data with the RxJS Map operator
-

Typesafe view models with RxJS and Angular
-

Reactively storing and retrieving URL state in Angular
-

Let's build an Image Generator with OpenAI and Angular
-

Why you should externalize your Angular Configuration
 Written by Bryan Hannes